Procurement team to take undertaking from the manufacturer whether the tile
is fit for flooring or wall dado.
Tile manufacturer’s authorized representative to be compulsorily be present
during first time installation of tile and ensure that their guidelines are adhered
to. (Often we observe that tile manufacturer blames the installation process
when defects are pointed out in tiles. This will cover all bases.)
Study drawings for Design layout and start point
If necessary, after referring the architectural flooring layout, shop drawing can
be prepared and approved considering the design/on handling wastages.
Decide which tiles to be cut. Cut tiles to be at edges so that they are hidden
inside the skirting.
MEP Clearance to be taken prior to start of flooring work
Ensure adequate illumination in working area.
Sorting of Tiles
Take 9 tiles and lay them in level
Check for any bends in tiles.
Check for any lippage in tiles by sliding coin
Check size of tiles with tape. Take 3 measurements along length and breadth
Check right angle of tile
Check tile thickness using Vernier calliper
Check colour, shade and pattern of tiles
Check for scratch, pinholes, bubbles
Remove faulty tiles
Attic stock of minimum 3 % to be maintained at Project.
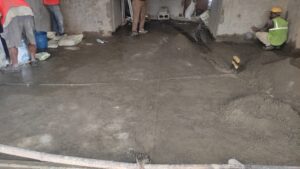
Surface Preparation and Jointing / Bedding Mortar
Ensure SFL level is transferred from master level from lift lobby for all floors
and same to be transferred inside flats area where flooring need to be
processed.
Make (RL +1 m level) from SSL with level tube. In entire flat.
Ensure the slab rough by tamping with hammer.
Clean slab with wire brush, water and broom.
If there is any cracks on the surface those are to be repaired with approved
repairing SOP
Apply Anti Capillary coat with approved waterproofing material (Master seal
550 or Equivalent) to the Block work surface and to the floor as per Anti
capillary SOP
Lay cement slurry 2.5Kg/m2 (1:1) so that micro cracks are filled up
Create level pads (also known as Thia, Button mark) to check thickness of
bedding mortar and FFL
Vitrified tiles does not require pre-soaking, however for ceramic tiles pre-soaking for 2 hours is required.
For flooring with slopes (Toilet & Balcony / deck) following slope to be
provided (to be ensured through difference in level pads) 1. Toilet: 10 mm in dry area. Further 10 mm in wet area. (1:120) 2. Balcony: 1:100.
If thickness is more than 40 mm then lay screed with Minimum M10 grade to
be used for additional thickness.
Ensure electrical and plumbing openings are closed and well protected
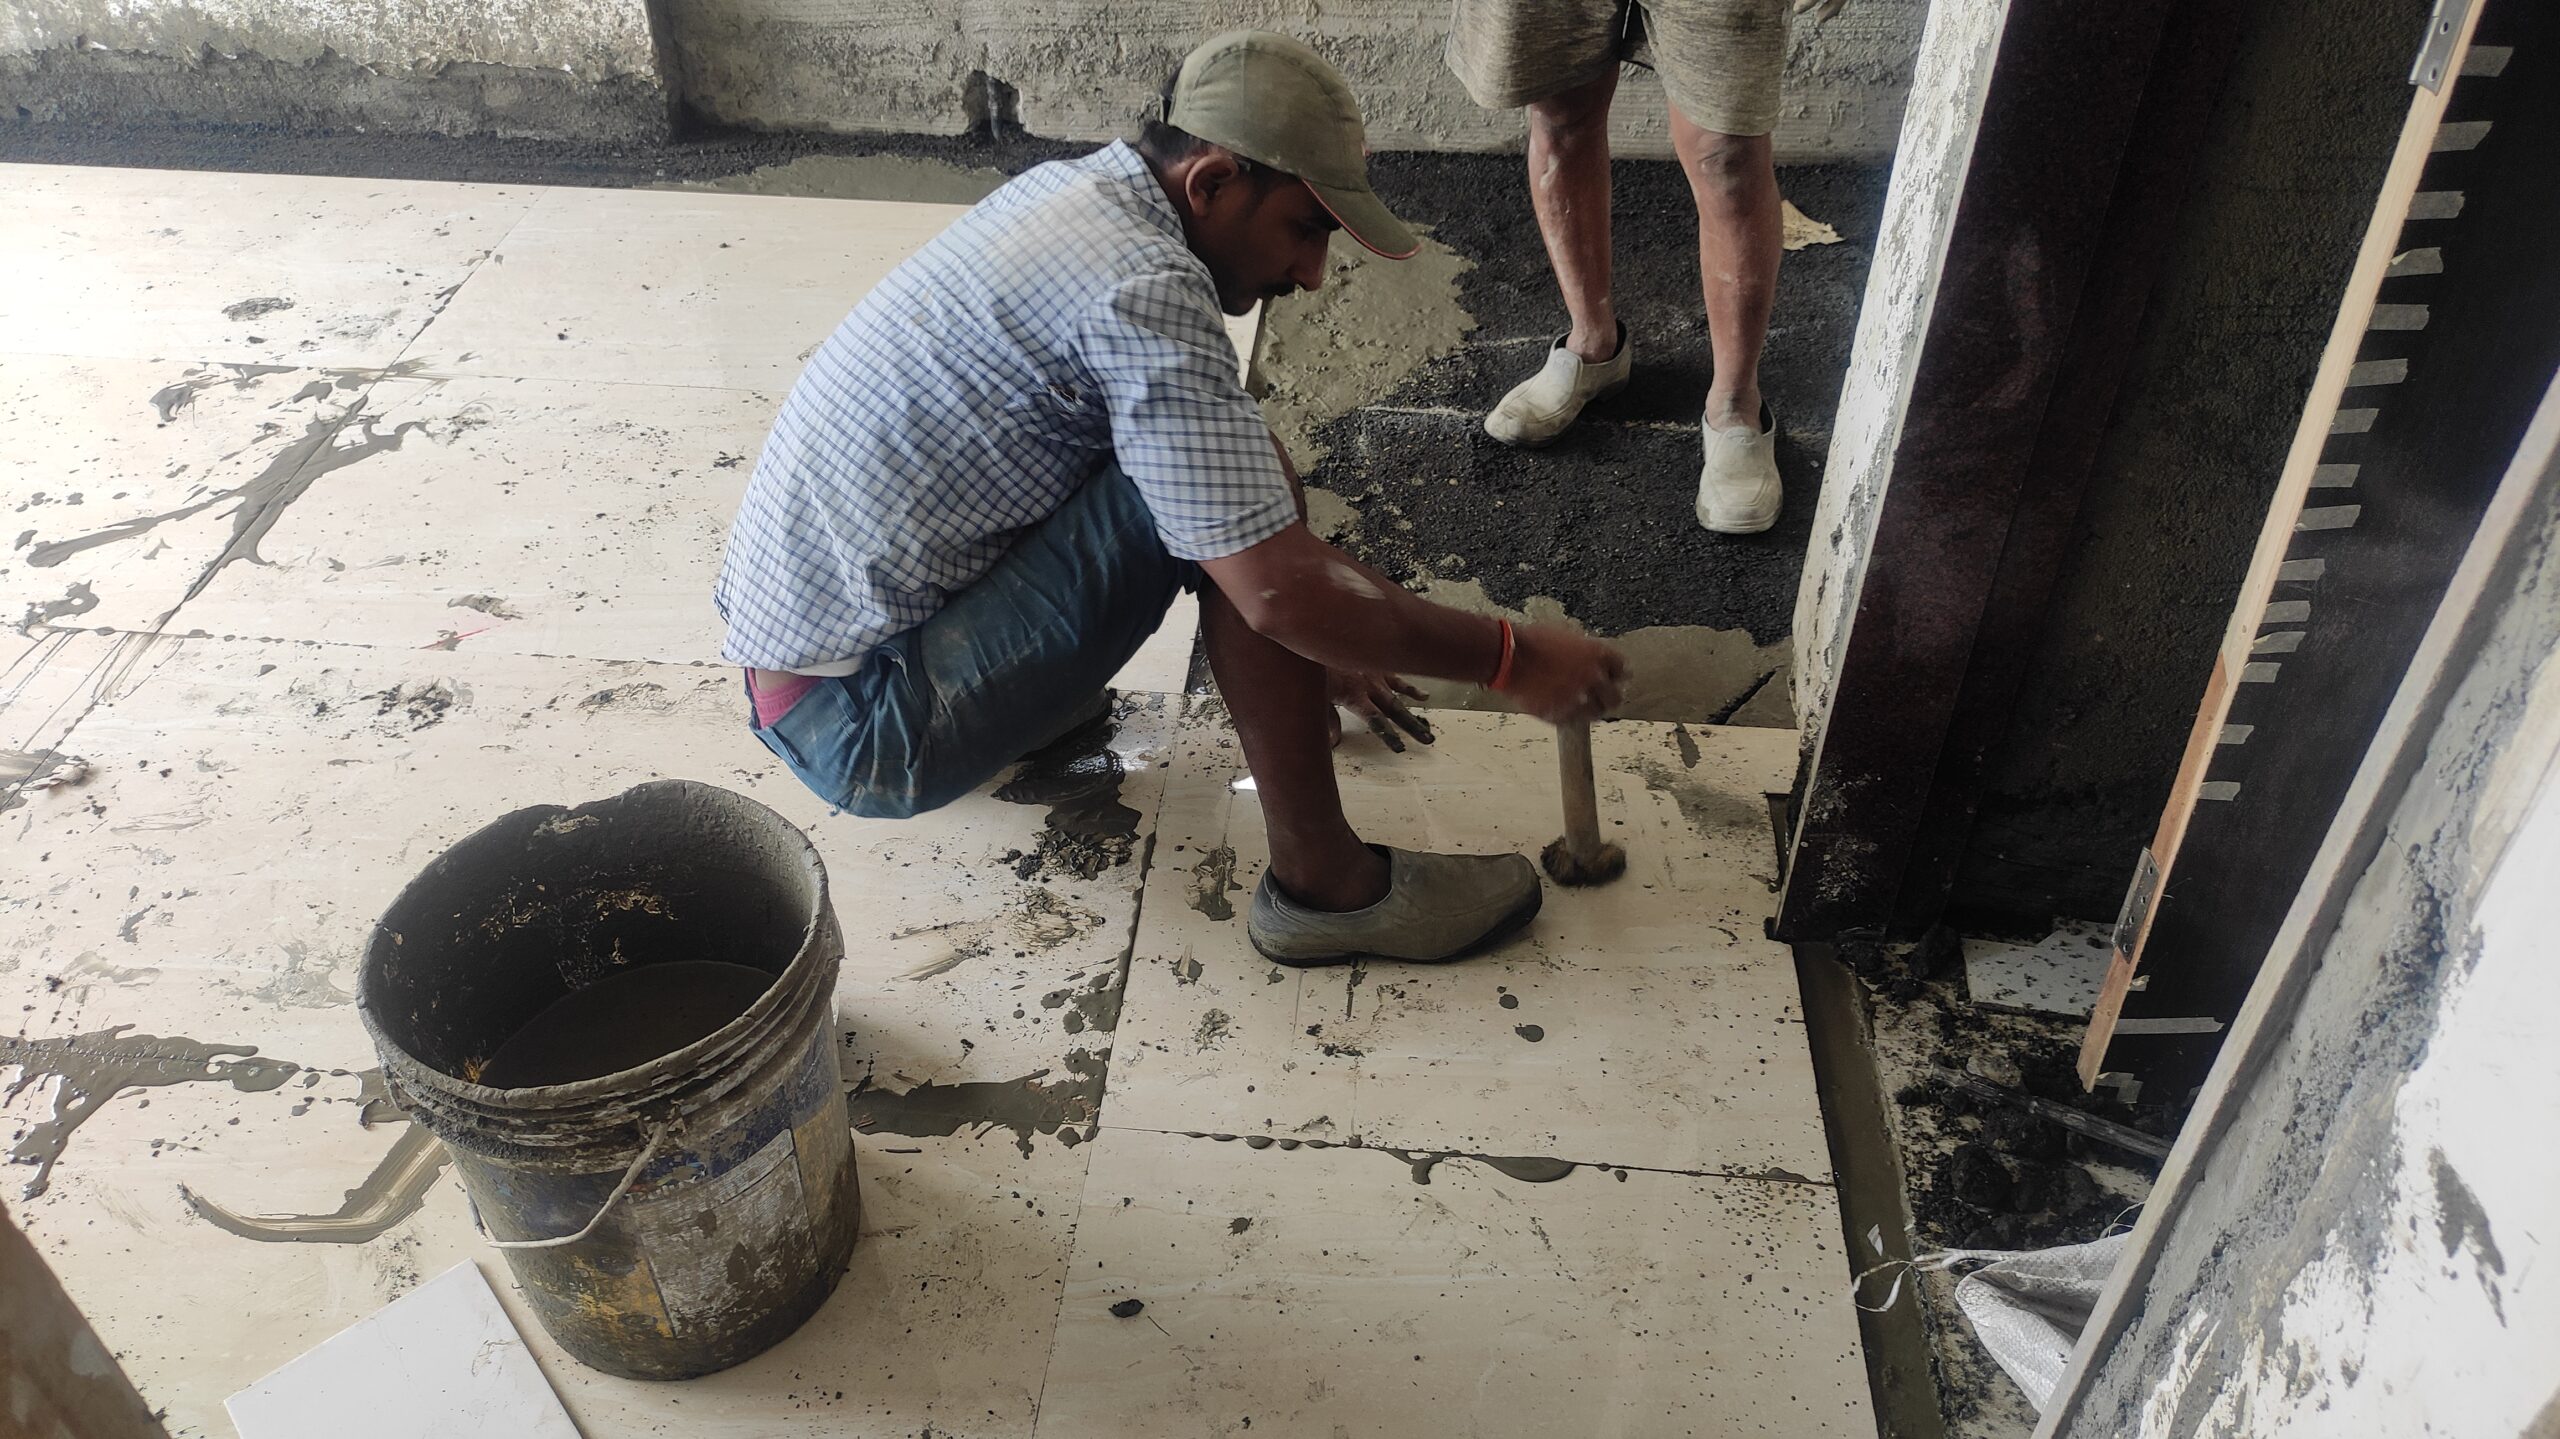
Use rubber mallet for tamping on top of tile to remove hollowness
Check level of tile with spirit level
Remove tile and spread cement slurry.
Rake the cement slurry for proper penetration
Place the tile and tamp with rubber mallet. Follow arrow mark in tile
Install PVC spacers on all 4 sides of tile.
Start laying other tiles with PVC spacers.
Check joints and level with spirit level
Barricade the area for min 24hrs for no manpower movement to avoid
settlement issue
Spacers provided while fixing floor tiles needs to be removed after setting of
cement or within 48Hrs.
After spacer removal, clean up the space between the joints.
Apply masking tape for protection of joints
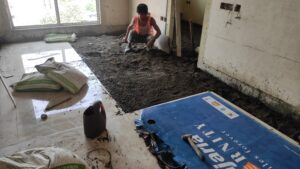
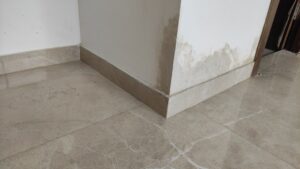
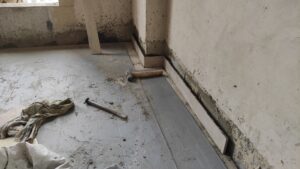
Skirting Work
Wet the area where skirting is to be applied
Fix the skirting with cement paste or tile adhesive without voids behind.
Check line and level
Check right angle
Ensure joint of skirting matches with joint of flooring
Protection of Flooring
Use masking tape to cover up the joints
Lay bubble guard/foam sheets/HDPE sheets with PVC adhesive tape
Joint Filling for tiles with spacers
Clean the joint with mild detergent and sponge.
Remove the PVC spacers
Remove the dust with patra and air blower.
For dry areas such as living room/ bedrooms , passage: use polymer modified
cementitious grout
For wet & exterior areas such as toilets, balconies, terraces use epoxy grout.
Apply 1 inch paper masking tape on either side of tile joint.
Mix the grout with water as per manufacturer’s guidelines
Apply with rubber gurmala
The grout to be approx. 0.5 mm lower than tile top and finished in curve.
The excessive grout from the tile joints should be thoroughly wiped off.
Wait for 2 to 3 days and tamp with rubber mallet for hollowness
For a given tile, if hollowness observed in more than 2 out of 5 points (4 corners and center) then it shall be replaced.
Check for lippage by sliding coin across the tiles as per applicable tolerance Guidelines
Material Storage Guidelines
Store tiles in a dry and well-ventilated area.
Always store tile with the labels on the edge of the boxes facing outward and placing as the mould surface of one faces that of another.
Maintain register for each batch of tile being delivered in a register. Keep aside min 3% of each batch for purpose of attic stock and consider 3% for handling wastage and label the attic stock properly with traceability to the laid location and batch Number.